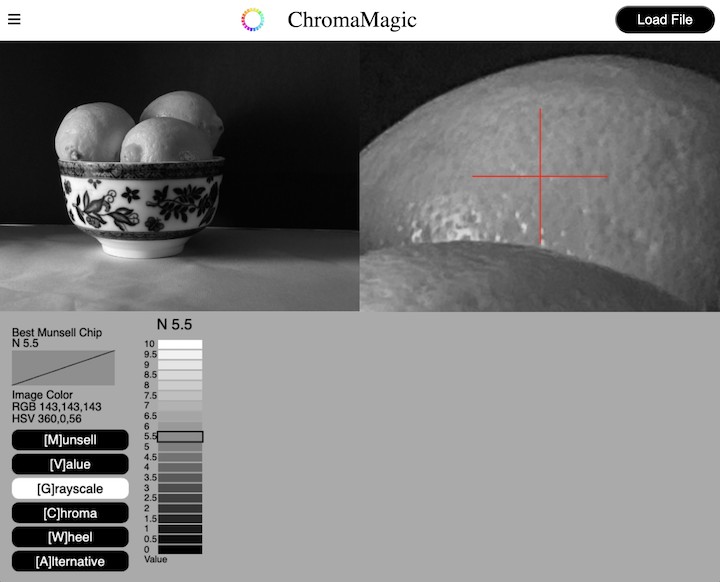
Pretty self-explanatory I think. Takes your photo and converts it to grayscale. You can still click around your photo and, instead of showing you the color, ChromaMagic will show you the value of your selected color.
Accessing Grayscale Mode

Click the ‘Grayscale’ button on the left hand side to access the value display mode. Or if you’re on a desktop you can use the keyboard shortcut ‘g’.
Grayscale Mode Example – Lemons in Bowl

This is the photo I’ve used. You can click the image and download it if you want to try this example yourself.
Converting Your Photo to Grayscale


Here I’ve loaded up the photo of some lemons in a bowl. The default display shows you the full color version of the photo. In the right hand panel I’ve clicked the ‘Grayscale’ button and ChromaMagic converts the photo into grayscale. I’ve intentionally chosen a setup with very bright, high chroma colors in which can often confuse the eye when judging value.
You can see that the actual value of the lemons is much closer to the foreground value than you might think by looking at the color version.
ChromaMagic Grayscale Panel

The information panel at the bottom for the ChromaMagic grayscale mode is pretty simple. Clicking anywhere in the photo will show you the value of that color in 1/2 steps.
